Resize a Partition for Free in Windows 7, 8.x, 10, or Vista
Windows 7, Windows 8, 8.1, 10, and Vista include a built-in functionality in Disk Management to shrink and expand partitions. No more 3rd party utilities needed! It’s worth noting that many third-party utilities will be more feature-rich, but you can do the very basic stuff in Windows without adding anything new.
To get to this utility, open up Control Panel, and type in partition into the search box.. you’ll immediately see the link show up:

If you are in Windows 8 or 8.1 you’ll need to use the Start Screen search. If you are in Windows 10, just use the Start Menu or the Control Panel search. Either way, the same thing will come up.

How to Shrink a Partition
In the Disk Management screen, just right-click on the partition that you want to shrink, and select “Shrink Volume” from the menu.

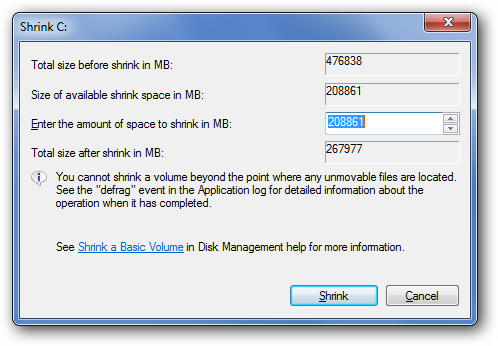
In the Shrink dialog, you will want to enter the amount you want to shrink by, not the new size. For example, if you want to shrink your 50gb partition by roughly 10gb so that it will now be roughly 40gb, enter 10000 into the box:


.png)
Comments
Post a Comment